
Beginner’s Guide to Artisan Baking
Why Artisan Baking is Worth Your Time
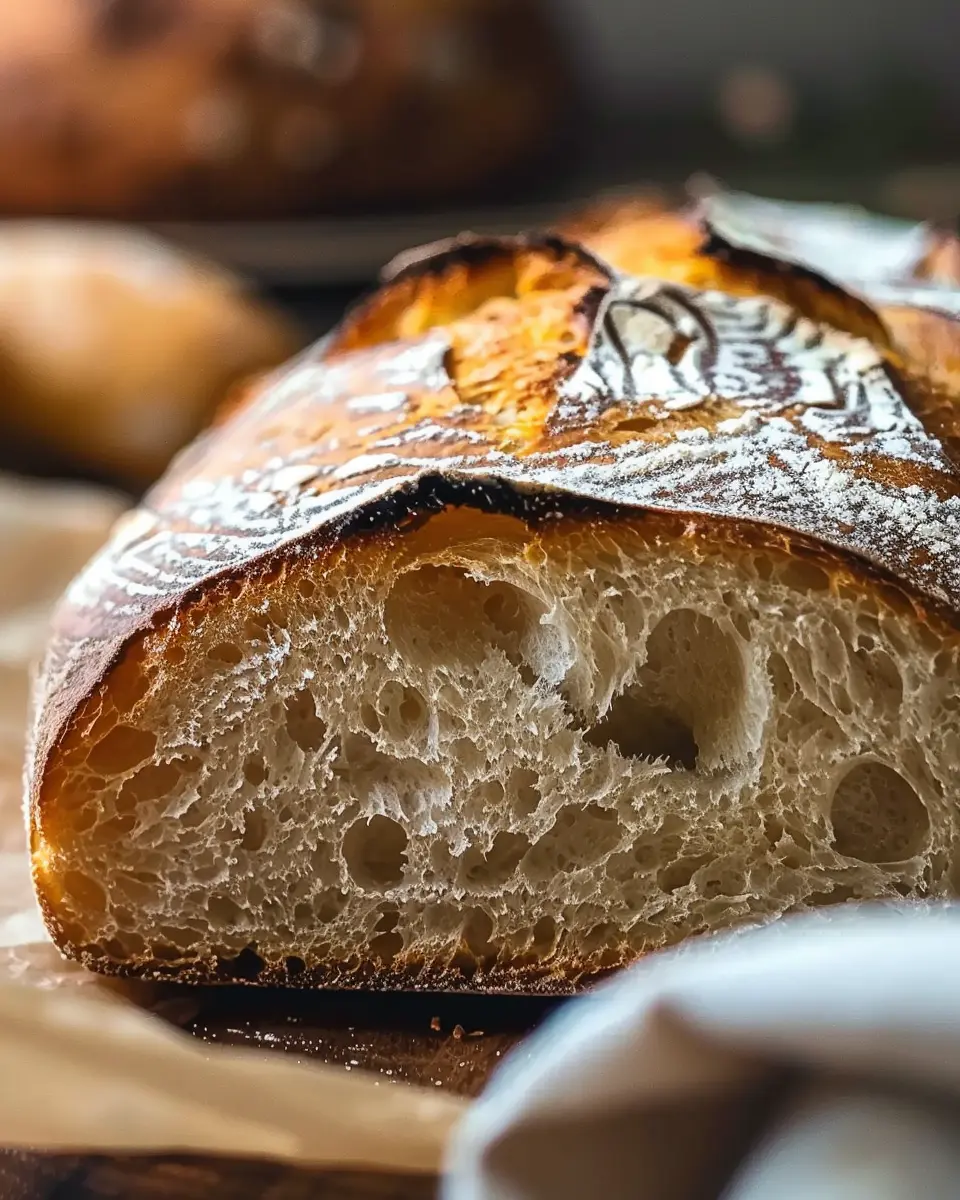
If you’re looking to elevate your culinary skills, picking up artisan baking can be one of the most rewarding endeavors. Sure, store-bought bread might suffice for a quick meal, but nothing compares to the aroma of freshly baked bread wafting through your home. Have you ever wondered why so many people are drawn to baking their own loaves?
To start with, artisan baking allows you to connect with the craft of cooking on a deeper level. It’s about understanding the ingredients you use and how they interact. Not only does this enhance your baking skills, but it also positively impacts your health. By knowing exactly what goes into your creations—no preservatives, no unnecessary additives—you can enjoy delicious results that you created from scratch.
Moreover, learning the art of baking can be a fantastic stress reliever. As you knead the dough, you can focus your mind, meditate, and create something beautiful. Whenever I feel overwhelmed, I often retreat to my kitchen, where I find solace in mixing, shaping, and baking.
In addition to the personal benefits, aside from creating delectable turkey bacon and chicken ham sandwiches with your homemade bread, you can impress family and friends. Imagine the joy on their faces when you bring out a warm loaf topped with their favorite spreads. According to research from the Culinary Institute of America, homemade meals, especially those baked with love, were shown to enhance social bonds among family members.
Here are some key reasons you might want to consider diving into artisan baking:
- Healthier Options: Control your ingredients for a wholesome experience.
- Flavor Mastery: Compare the rich, complex flavors of your fresh bread with store-bought alternatives.
- Creative Expression: Experiment with different flours, herbs, and add-ins like nuts or seeds.
- Community Building: Share your bakes with loved ones or join a local baking group.
Don’t hesitate to check out resources like King Arthur Baking for guides and inspiration to get you started on your beginner’s guide to artisan baking. Who knows, you might just find your new passion!
Ingredients for Artisan Baking
Essential Ingredients for Bread
When embarking on your Beginner’s Guide to Artisan Baking, starting with quality ingredients is paramount. Here’s what you’ll need:
- Flour: Choose high-protein flour like bread flour for the best gluten development. You can also experiment with whole wheat flour for added flavor.
- Water: The backbone of dough; use filtered water for purer taste.
- Yeast: Instant yeast or active dry yeast works well. Don’t forget to check the expiration date!
- Salt: It enhances flavor and controls fermentation. Sea salt or kosher salt is a great choice.
- Optional: Add-ins like seeds, nuts, or herbs can elevate your bread.
Common Substitutions and Additions
If you’re inventory is low, don’t worry. Here are some substitutions:
- For flour, try using all-purpose flour, though the texture will differ.
- If you’re out of yeast, a sourdough starter is a fantastic alternative.
- Want to boost nutrition? Incorporate flaxseeds or chia seeds, which also add a delightful crunch!
By understanding these foundational ingredients, you’re on your way to impressing your friends with your artisan breads. For more tips on ingredient selections, check out King Arthur Baking, a great resource for bakers!
Step-by-Step Preparation for Artisan Bread
Making artisan bread at home can seem intimidating, but with a friendly guide and a little patience, you’ll be amazed at what you can create. Let’s dive into the process, step by step, as you embark on this baking adventure!
Gather Your Ingredients and Tools
Before you get your hands doughy, it’s essential to gather everything you need. Here’s a simple list of ingredients and tools:
Ingredients:
- 4 cups of all-purpose flour
- 1 ½ cups of water (room temperature)
- 1 ½ teaspoons of salt
- 1 teaspoon of active dry yeast or instant yeast
Tools:
- Large mixing bowl
- Wooden spoon or dough scraper
- Clean kitchen towel or plastic wrap
- Baking stone or sheet
- Parchment paper
- Kitchen scale (optional but recommended)
By preparing ahead of time, you can focus on each step without scrambling to find that elusive flour bag. Check out sites like King Arthur Baking for tips on choosing the right flour and other baking essentials.
Mixing the Dough
With your ingredients laid out, it’s time to mix. In your large mixing bowl, combine the flour, salt, and yeast. Make a well in the center and pour in the water. Using a wooden spoon or your hands, mix until the dough comes together. Don’t be afraid to get a little messy! It’s all part of the fun.
You want the mixture to be slightly sticky but manageable. If it feels too dry, add a tad more water. The key here is to mix until no dry flour remains.
Letting the Dough Rise
Now comes the magical part! Cover your bowl with a kitchen towel or plastic wrap and let it rest in a warm spot for about 8-12 hours. Overnight is perfect. This is where the dough gets its wonderful flavor and structure, thanks to the slow fermentation process. Just imagine waking up to the delightful aroma of freshly risen dough!
Shaping Your Dough
Once your dough has risen and is bubbly, it’s time to shape it. Lightly flour your countertop and gently turn the dough out. Using a bench scraper or your hands, fold the dough over itself a couple of times to form it into a rough ball. This process helps build some strength.
Place the shaped dough onto a piece of parchment paper and cover it with a towel again. Let it rest for another 30 minutes. Meanwhile, you can prepare your oven and baking stone.
Prepping for Baking
To get ready for baking, place a baking stone or sheet in the oven and preheat it to 450°F (232°C). This high heat creates those crispy, crusty exteriors that artisan bread is famous for. If you don’t have a baking stone, a sheet will work just fine!
Before placing your bread in the oven, slash the top gently with a sharp knife or a razor blade. This helps steam escape properly during baking and gives that artisan look!
Baking Your Artisan Bread
With your oven preheated, carefully transfer the parchment paper with the bread onto the hot baking stone. Here’s where you can be a little creative: for added steam, spritz the oven with water using a spray bottle (just a few spritzes will do). Steam helps create that lovely crust that we all love.
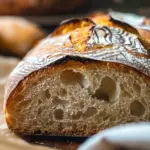
Bake for about 30-35 minutes until the bread is golden brown and sounds hollow when tapped on the bottom. Remember to allow it to cool on a wire rack before slicing.
And there you have it—your first loaf of homemade artisan bread! Think of the delicious sandwiches you can make with turkey bacon and chicken ham on that fresh loaf. This beginner’s guide to artisan baking is just the start of many delightful baking experiences ahead!
Variations of Artisan Bread
Artisan bread is not just about basic loaves; it’s a canvas for your creativity. Here are two delightful variations that any beginner can master while exploring the joys of bread-making.
Simple Herb and Garlic Bread
Imagine the aroma of fresh herbs mingling with roasted garlic wafting through your kitchen. This bread is perfect for dipping in olive oil or serving alongside your favorite pasta dish.
Ingredients:
- 3 cups all-purpose flour
- 1 packet active dry yeast
- 1 ½ cups warm water
- 2 tablespoons olive oil
- 1 tablespoon salt
- 2 tablespoons mixed herbs (like rosemary and thyme)
- 3 minced garlic cloves
Instructions:
- In a bowl, combine warm water and yeast. Let it activate for about 5 minutes.
- Gradually add olive oil, herbs, and garlic, followed by flour and salt. Knead until smooth.
- Allow the dough to rise in a warm spot for about an hour.
- Shape it into a loaf and let it rise again for 30 minutes before baking at 375°F for 30-35 minutes.
This simple yet flavorful bread is a wonderful introduction to artisan baking. You can also customize it by adding olives or sun-dried tomatoes for a twist!
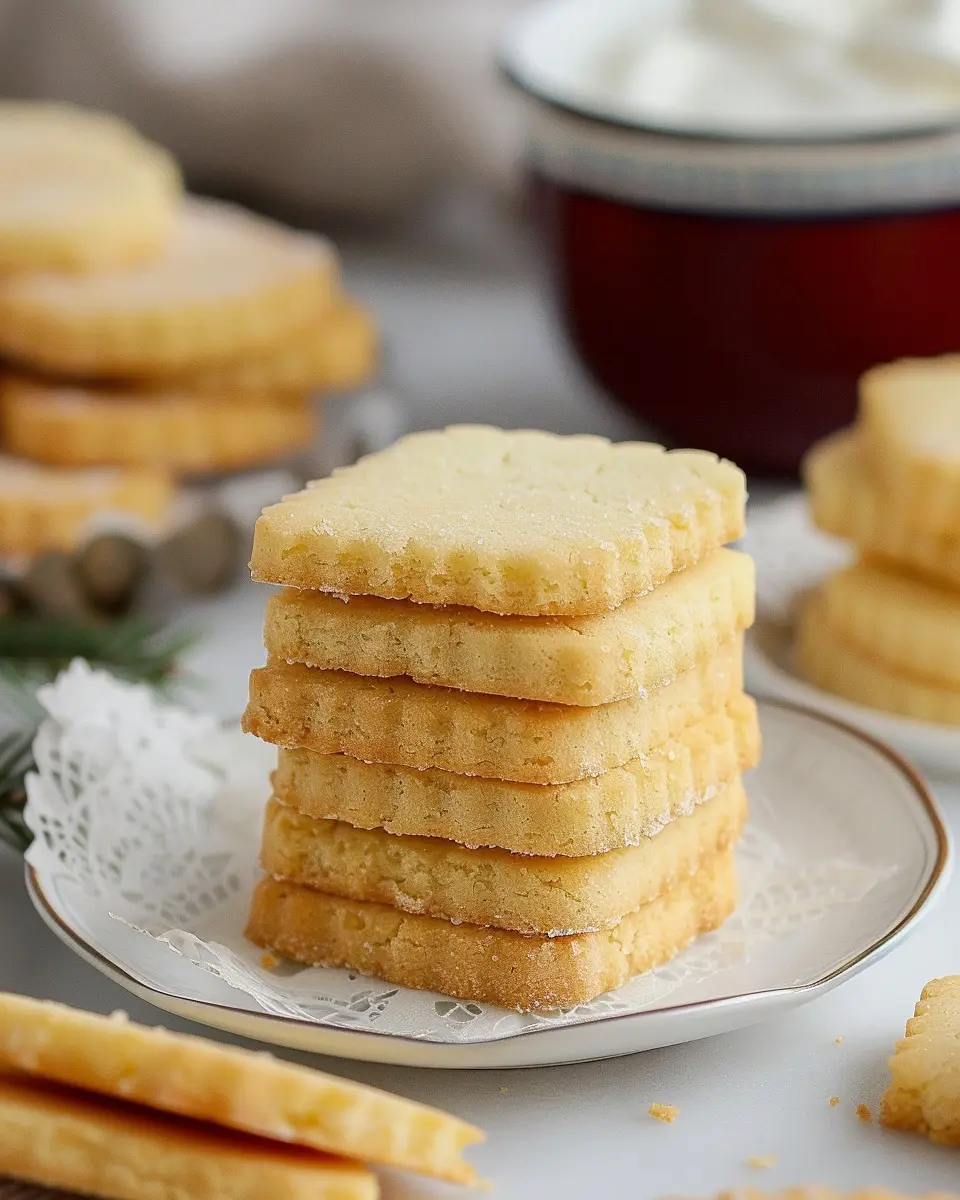
Sweet Raisin and Cinnamon Bread
If you have a sweet tooth, this bread will truly satisfy! Perfect for breakfast or an afternoon snack, it’s soft, fluffy, and bursting with the warm flavors of cinnamon and raisins.
Ingredients:
- 4 cups bread flour
- 1 packet active dry yeast
- 1 cup warm milk
- 3 tablespoons sugar
- 1 teaspoon salt
- 2 teaspoons cinnamon
- 1 cup raisins
- 3 tablespoons butter, melted
Instructions:
- Combine warm milk, yeast, and sugar in a bowl. Let it sit for about 5 minutes.
- Mix in salt, cinnamon, butter, and gradually add the flour until the dough forms.
- Knead the dough, then fold in the raisins. Let rise for an hour.
- Shape into a loaf and let it rise again. Bake at 350°F for 30-35 minutes.
This bread not only tastes amazing but is also a fantastic way to introduce yourself to artisan baking. For more tips and tricks on baking, check out resources like King Arthur Baking.
These variations offer a fantastic starting point for anyone looking to delve into the world of artisan breads, one delicious bite at a time! 🥖
Baking Tips and Notes for Artisan Bread
Common Mistakes to Avoid
Every baker stumbles along the way—it’s part of the journey! Here are a few common pitfalls to steer clear of in your Beginner’s Guide to Artisan Baking:
- Over-kneading: While developing gluten is essential, overdoing it can make your bread tough. Aim for a balance!
- Ignoring the dough’s temperature: Warm dough can speed up fermentation but may hinder flavor development. Room temperature is often best.
- Skipping the pre-heating: A hot oven is crucial for achieving that lovely crust. Preheat for at least 30 minutes before baking.
Enhancing Flavor with Refrigeration
Did you know that refrigeration can significantly enhance the flavor of your bread? When you let your dough rest in the fridge overnight, it develops complex flavors that you simply can’t achieve in a rush. This process, known as cold fermentation, allows the yeast to work slowly, resulting in a richer taste.
Try it next time! You’ll be amazed at the difference. Don’t hesitate to explore this resource for more insights on fermentation techniques. Happy baking!
Serving Suggestions for Your Artisan Bread
Perfect Pairings for Bread
Artisan bread is a canvas waiting for your culinary creativity! Freshly baked, the crusty exterior and tender crumb make it a dream for pairing. Try spreading some homemade garlic butter or a savory herb-infused olive oil. For a protein boost, top your slice with Turkey Bacon or Chicken Ham and a sprinkle of fresh arugula.
Cheese lovers will rejoice with a generous layer of sharp cheddar or creamy goat cheese, complemented by fig or cranberry preserves. And don’t forget about fresh veggies; sliced tomatoes and avocados bring a vibrant twist that’s both nutritious and delicious. If you want to take it up a notch, consider trying delicious dips like hummus or tzatziki for a Mediterranean flair!
Creative Ways to Use Leftover Bread
Don’t let leftover artisan bread go to waste! Break it into pieces for a hearty bread pudding, or make a delicious panade by soaking it in broth—perfect for a comforting soup on chilly nights. You can also blitz it into breadcrumbs for a crunchy topping on casseroles or salads. Transform stale slices into croutons seasoned with herbs for salads or a homemade stuffing.
For more tips, check out this recipe resource that offers some delightful ideas for repurposing your bread scraps. With these serving suggestions, you’ll be amazed at how versatile and satisfying your artisan bread can be!
Time Breakdown for Artisan Bread
When diving into the art of artisan bread, understanding the time involved can make the process more enjoyable. Here’s a handy breakdown to keep you on track throughout your baking adventure.
Preparation Time
Getting started with your ingredients typically takes about 15-20 minutes. You’ll be mixing flour, water, yeast, and salt together to create that perfect dough. If your dough needs a bit more love, don’t hesitate to add in herbs or seasonings during this stage.
Rising Time
The beauty of sourdough is in the rise! This process usually takes 4-12 hours, depending on your recipe and environment. A longer rise enhances texture and flavor, so plan accordingly. For beginners, starting with a shorter rise and gradually experimenting is a great tip shared in this Beginner’s Guide to Artisan Baking.
Baking Time
Once your dough has risen, the baking process is relatively quick, typically taking 25-30 minutes. Keep an eye on it; the aroma will guide you! A golden crust means you’re on the right track.
Total Time
In total, you’re looking at anywhere from 4 to 12 hours or more for the entire process, depending on rising times. It may seem long, but the satisfaction of crafting your own artisan bread is undoubtedly worth every minute. Ready to start baking? Check out this guide for more tips on becoming a successful artisan baker!
Nutritional Facts for Artisan Bread
Basic Nutritional Breakdown per Slice
When diving into the art of artisan baking, it’s essential to understand what you’re nourishing your body with. A typical slice of homemade artisan bread offers:
- Calories: Approximately 80-100
- Carbohydrates: About 15-20g
- Protein: Roughly 3-4g
- Fiber: 1-2g
- Fat: Minimal, around 1g, depending on your ingredients
The beauty of artisan bread is in its simplicity and the quality of ingredients, leading to a wholesome, satisfying experience. For more detailed information, check out resources from the Whole Grains Council.
Tips for Healthier Baking Alternatives
Embarking on your journey with the Beginner’s Guide to Artisan Baking? Here are some tips to make your bread a bit healthier:
- Opt for Whole Grains: Substitute some or all of the white flour with whole wheat or alternative flours like spelt or oat, which pack more nutrients and fiber.
- Experiment with Add-ins: Consider incorporating seeds, nuts, or oats into your dough for added texture and nutrients.
- Control Your Salt: Reducing salt not only lowers sodium but can also enhance the natural flavors of your ingredients.
With these approachable tips and a little practice, you’ll create artisan bread that’s not only delicious but also a wholesome addition to your meals. Happy baking!
FAQs about Artisan Baking
What Makes Artisan Bread Different from Regular Bread?
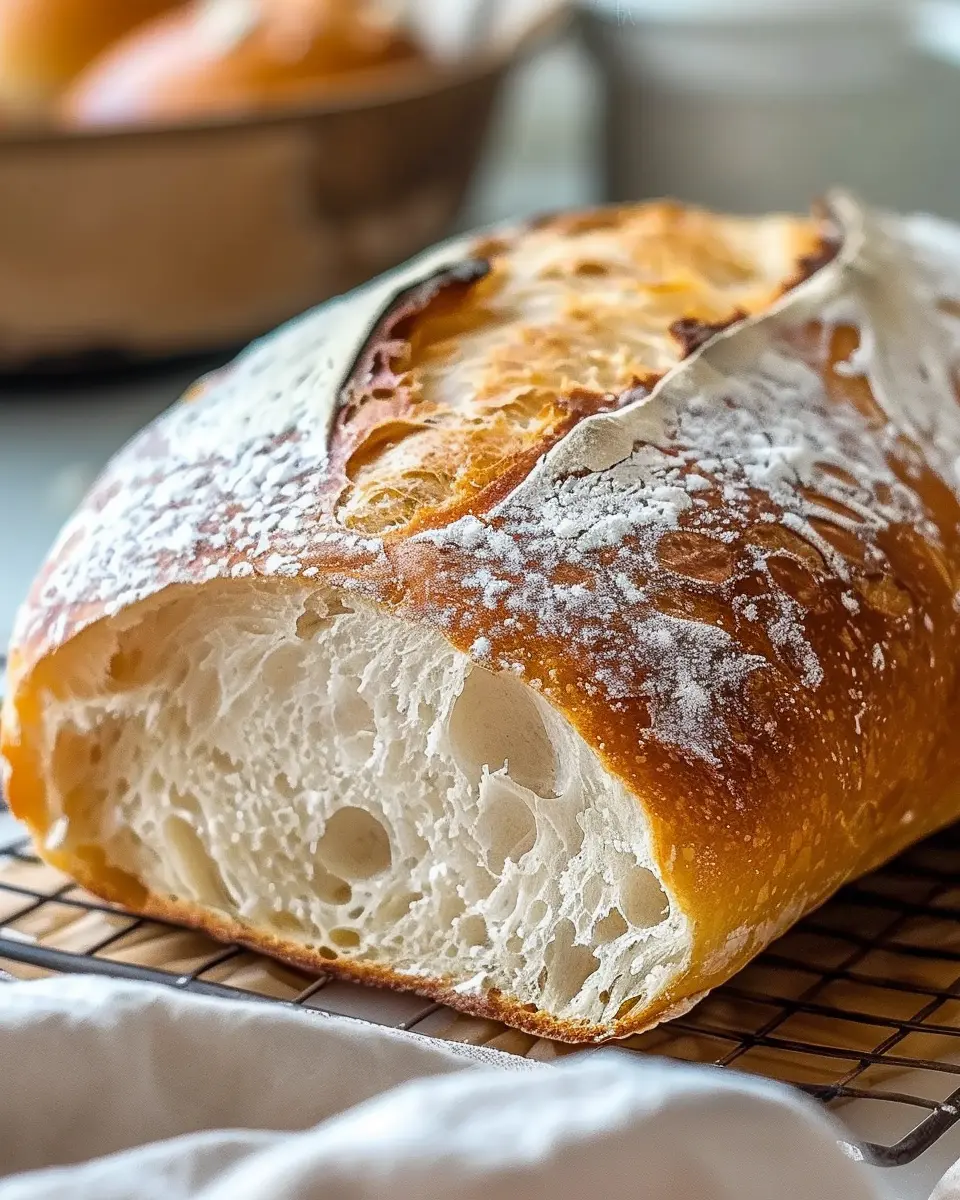
Artisan bread stands out for its hand-crafted techniques and natural ingredients. Unlike regular bread, which is often mass-produced, artisan bread is typically made in smaller batches, using traditional methods like long fermentation. This process not only enhances the flavor but also improves the texture. For those diving into this unique baking world, it’s essential to remember that artisan bread often boasts a crusty exterior and a chewy interior, which provides a delightful contrast that regular bread doesn’t replicate.
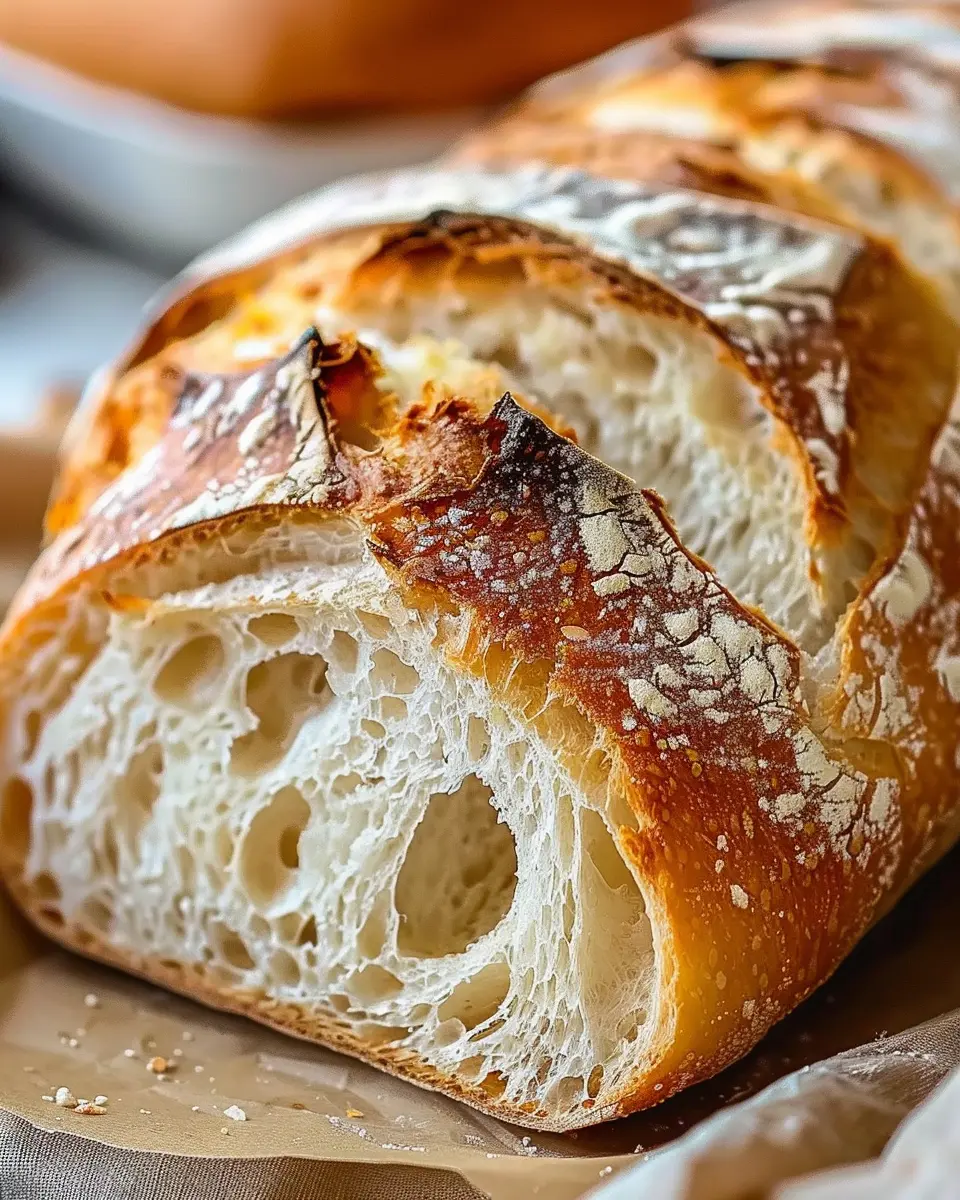
How Can I Achieve a Crispy Crust?
A crispy crust is often the hallmark of great artisan bread. Here are some tips to help you achieve that coveted crunch:
- Steam: Create steam in your oven during the first few minutes of baking. You can place a pan with water on the bottom rack or spritz the dough with water before baking.
- High Temperature: Baking at higher temperatures (around 450°F) helps develop a beautiful crust. Be sure to preheat your oven thoroughly.
- Baking Stone: Use a baking stone or a cast iron skillet for even heat distribution, which can also enhance crust quality.
For more tips on achieving that perfect crust, check out King Arthur Baking.
Can I Use Whole Grain Flour for Artisan Bread?
Absolutely! Whole grain flour not only adds nutritional value but also infuses your bread with a rich, nutty flavor. Embrace the challenge of adjusting hydration levels, as whole grain flours absorb more water than white flour. Start with a blend of both to ease into it, then gradually transition to 100% whole grain if you like. This approach will enrich your baking experience and align perfectly with the techniques outlined in the Beginner’s Guide to Artisan Baking.
For more insights on baking with whole grains, visit The Whole Grains Council.
Conclusion to Artisan Baking
Embracing Your Artisan Baking Journey
Now that you’ve explored the basics in this Beginner’s Guide to Artisan Baking, it’s time to embrace your culinary adventure! Baking is not just a method—it’s a mindful practice that transforms simple ingredients into vibrant, flavorful creations. Don’t be afraid to experiment with different flours, spices, and baking techniques.
As you mix, knead, and bake, remember that every loaf is a reflection of your unique journey. Whether you’re preparing a hearty whole grain bread or a sweet brioche, the satisfaction will be immense. So preheat that oven and let your passion for artisan baking rise!
For extra inspiration, check out King Arthur Baking for invaluable resources and tips on perfecting your craft!
PrintBeginner’s Guide to Artisan Baking: Easy Recipes for Home Chefs
Discover the joys of artisan baking with our beginner-friendly guide featuring easy recipes that you can recreate at home.
- Prep Time: 20 minutes
- Cook Time: 30 minutes
- Total Time: 1 hour 50 minutes
- Yield: 2 loaves
- Category: Baking
- Method: Baking
- Cuisine: Italian
- Diet: Vegetarian
Ingredients
- 4 cups all-purpose flour
- 2 cups warm water
- 1 packet active dry yeast
- 2 teaspoons salt
- 1 tablespoon sugar
Instructions
- In a large bowl, mix warm water, sugar, and yeast. Let it sit for 5 minutes until frothy.
- Add flour and salt to the yeast mixture and stir until a dough forms.
- Knead the dough on a floured surface for about 10 minutes until smooth.
- Place the dough in a greased bowl, cover, and let it rise in a warm place for 1 hour.
- Punch down the dough and shape it into loaves or rolls.
- Let the shaped dough rise for an additional 30 minutes before baking.
- Bake in a preheated oven at 375°F for 25-30 minutes until golden brown.
Notes
- Use a kitchen scale for precise measurements.
- Experiment with different types of flour for unique flavors.
- Allow the bread to cool completely before slicing for best results.
Nutrition
- Serving Size: 1 slice
- Calories: 120
- Sugar: 1g
- Sodium: 200mg
- Fat: 1g
- Saturated Fat: 0g
- Unsaturated Fat: 0g
- Trans Fat: 0g
- Carbohydrates: 25g
- Fiber: 1g
- Protein: 4g
- Cholesterol: 0mg


")