
Introduction to No-Oven Turkish Bread
Homemade bread has a way of filling your kitchen with warmth and inviting aromas that store-bought varieties simply can’t match. When you’re crafting no-oven Turkish bread, you’re not just making a meal; you’re creating a cherished experience. The process can be meditative, rewarding, and dare I say, a little bit fun!
Why Homemade Bread Is Worth the Effort
You might wonder, “Is it really worth it to make my own bread?” Absolutely! Not only does baking your own bread allow you to control the ingredients, but it also opens the door to endless customization. Imagine kneading the dough with your own hands, mixing in your favorite herbs, or even choosing to add a sprinkle of Turkey Bacon or Chicken Ham for a savory twist. Homemade bread is all about personal touch and creativity.
According to a study published in the Journal of Culinary Science & Technology, homemade bread can contain fewer preservatives than store-bought options. That means you can enjoy your meals without the worry of consuming unpronounceable additives. Plus, the nutritional benefits of freshly baked bread can’t be overlooked. You can choose whole grains or alternative flours to boost fiber and protein content, making your no-oven Turkish bread not just delicious, but also nutritious.
The Simplicity of No-Oven Cooking
When it comes to making bread, the idea of using an oven can be intimidating. What if you don’t have one, or it’s simply too hot outside? The beauty of no-oven Turkish bread is that it can be cooked on the stovetop, allowing you to enjoy fluffy, pillowy loaves without heating up your kitchen. This method makes it accessible for everyone—whether you’re a kitchen novice or a seasoned chef.
For those days when you just want something homemade but don’t feel up to a lengthy process, this recipe proves that you don’t have to sacrifice quality for convenience. In as little as 30 minutes, you can whip up fresh bread that pairs beautifully with your favorite spreads or dishes.
Getting Started
Curious about how to begin your journey into making no-oven Turkish bread? Gather your ingredients first, and don’t forget to check out some helpful cooking resources available online, like the American Institute of Baking. With every batch you make, you’ll find new flavors and techniques, ensuring you never get bored.
So, roll up your sleeves and let’s dive into the delightful world of homemade bread!
Ingredients for No-Oven Turkish Bread
Essential ingredients for a fluffy flatbread
Making no-oven Turkish bread is a delightful culinary adventure that yields delicious results with minimal fuss. Here’s what you’ll need to whip up your own batch of fluffy flatbreads:
- All-Purpose Flour: The foundation of your bread. About 3 cups will do the trick, giving your bread a nice rise.
- Active Dry Yeast: Approximately 2 teaspoons for that essential puff and flavor. Don’t skip this; it’s what makes your bread light and airy!
- Warm Water: Roughly 1 cup, around 110°F (43°C), helps activate your yeast and create a dough that’s easy to work with.
- Olive Oil: 2 tablespoons provide moisture and a bit of richness—plus, it infuses your bread with amazing flavor.
- Salt: Just 1 teaspoon enhances all the other ingredients, giving your bread depth and taste.
- Optional Seasonings: Consider adding herbs like thyme or sesame seeds for a touch of flair.
With these simple ingredients, you’re on your way to mastering the art of no-oven Turkish bread. If you’re curious about the science behind yeast, check out this informative piece for a deep dive!
Step-by-step Preparation of No-Oven Turkish Bread
Making no-oven Turkish bread at home can be a delightful culinary adventure! Whether you want a fresh side for your meal or a delicious wrap for your favorite fillings, this guide will walk you through each step to achieve fluffy, golden flatbreads right on your stovetop. Let’s roll up those sleeves and dive in!
Gather and prepare your ingredients
Before you even think about mixing, it’s essential to gather your ingredients. Enjoying the process starts with being organized! For this recipe, you will need:
- 2 cups all-purpose flour
- 1 teaspoon salt
- 1 teaspoon sugar
- 1 teaspoon baking powder
- 1 tablespoon olive oil
- 3/4 cup warm water (not boiling, just warm to the touch)
Make sure all your ingredients are at room temperature; this will help create that perfect dough. Feel free to substitute the warm water with milk for a creamier dough!
Mix your dry ingredients
In a mixing bowl, combine the all-purpose flour, salt, sugar, and baking powder. Using a whisk can help ensure the dry ingredients are evenly mixed without any clumps. Mixing helps activate the baking powder, so this step is crucial. If you want to enhance your bread’s flavor, consider adding a pinch of dried herbs or spices—perhaps a dash of cumin or za’atar for that extra kick!
Combine wet ingredients into the dough
Next, form a well in the center of your dry ingredients and pour in the olive oil and warm water. With a fork or your hands, slowly mix the dry ingredients into the wet, ensuring everything is combined into a shaggy dough. You might be wondering, “What makes this no-oven Turkish bread different?” Well, it’s all about the stovetop cooking, which gives it that authentic, soft texture while preserving the flatbread’s essence.
Knead the dough to perfection
Once combined, transfer the dough onto a lightly floured surface. Knead it gently for about 5-7 minutes until it becomes smooth and elastic. This step is critical because it helps develop gluten, giving your bread its structure. If the dough feels sticky, sprinkle a bit more flour as needed, but avoid over-flouring—less is often more!
Let the dough rise
Now, place your kneaded dough back into a lightly oiled bowl, cover it with a clean kitchen towel or plastic wrap, and let it rest for about 30 minutes in a warm spot. This rising period allows the gluten to relax and helps your flatbreads achieve that nice puffiness!
Shape the flatbreads
After 30 minutes, return to your dough. Divide it into 4-6 equal parts, depending on how large you want your flatbreads. Roll each piece into a ball and then flatten it into discs about 1/4 inch thick. You can use a rolling pin or your hands; just ensure they are evenly shaped. The aim is for them to be uniform to cook properly.
Cook on the skillet
Heat a non-stick skillet over medium-high heat. Once hot (you can test by splashing a few drops of water—if they sizzle, it’s ready), place your flatbread in the skillet. Cook for about 2-3 minutes on each side until golden brown and puffy. If you’re lucky, you might see those beautiful air bubbles forming as they cook!
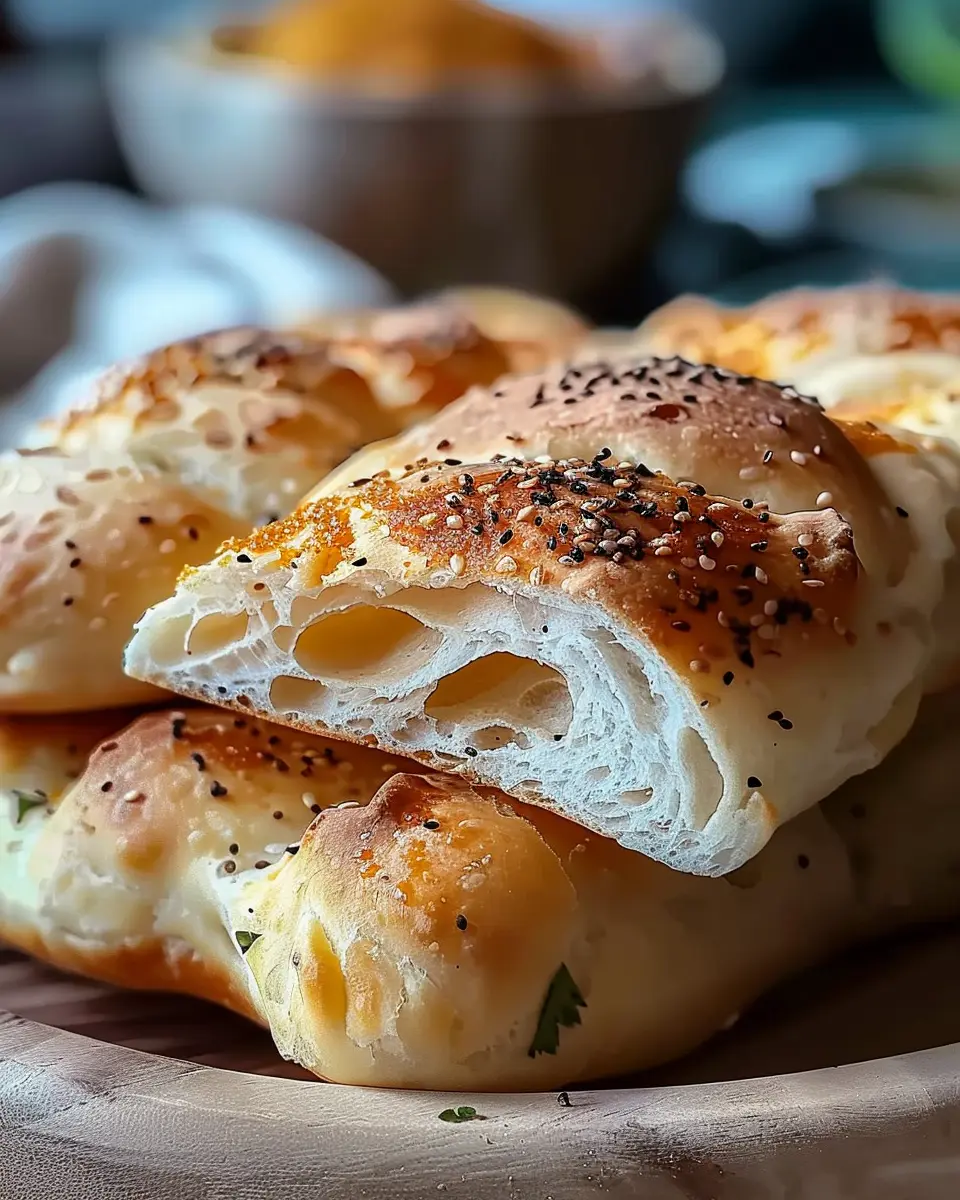
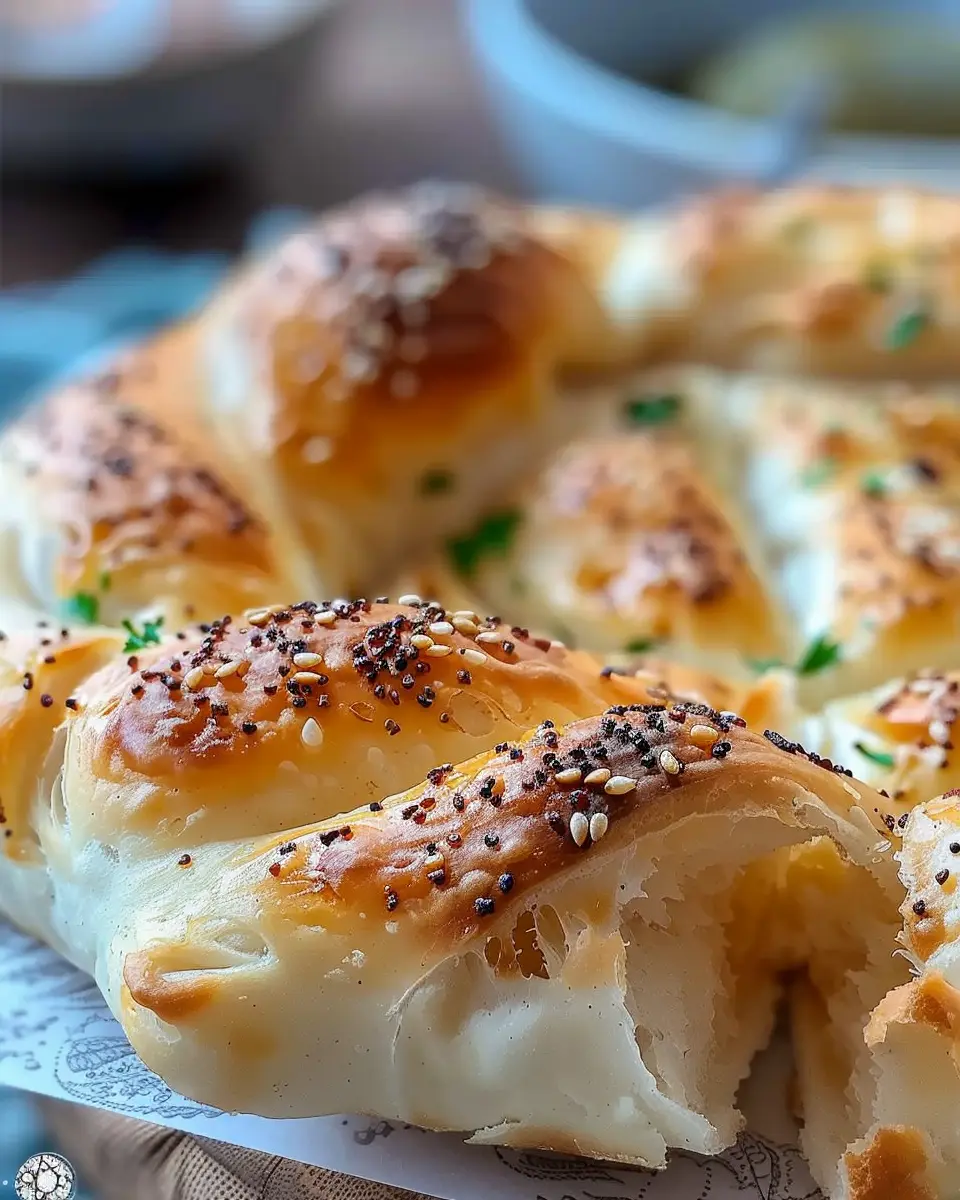
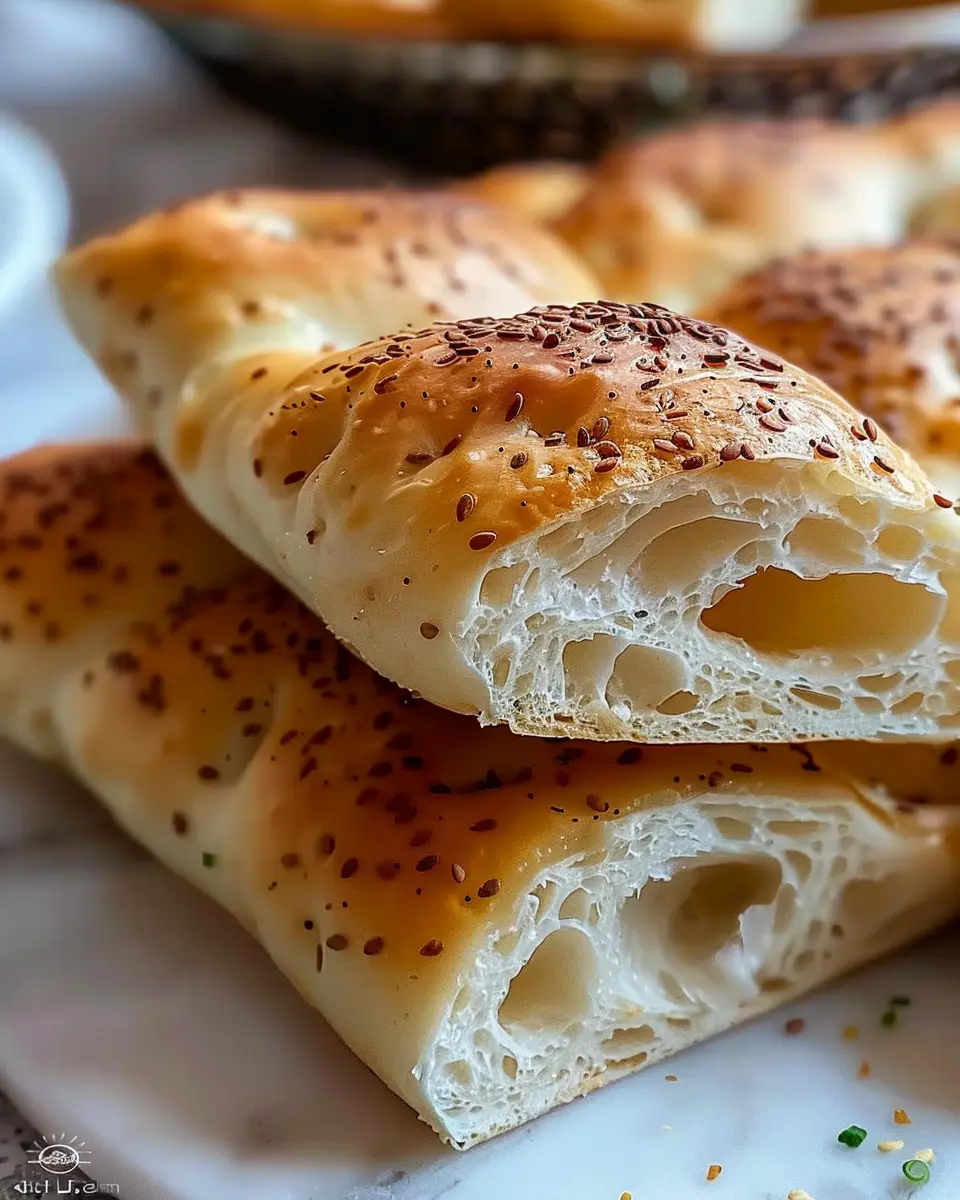
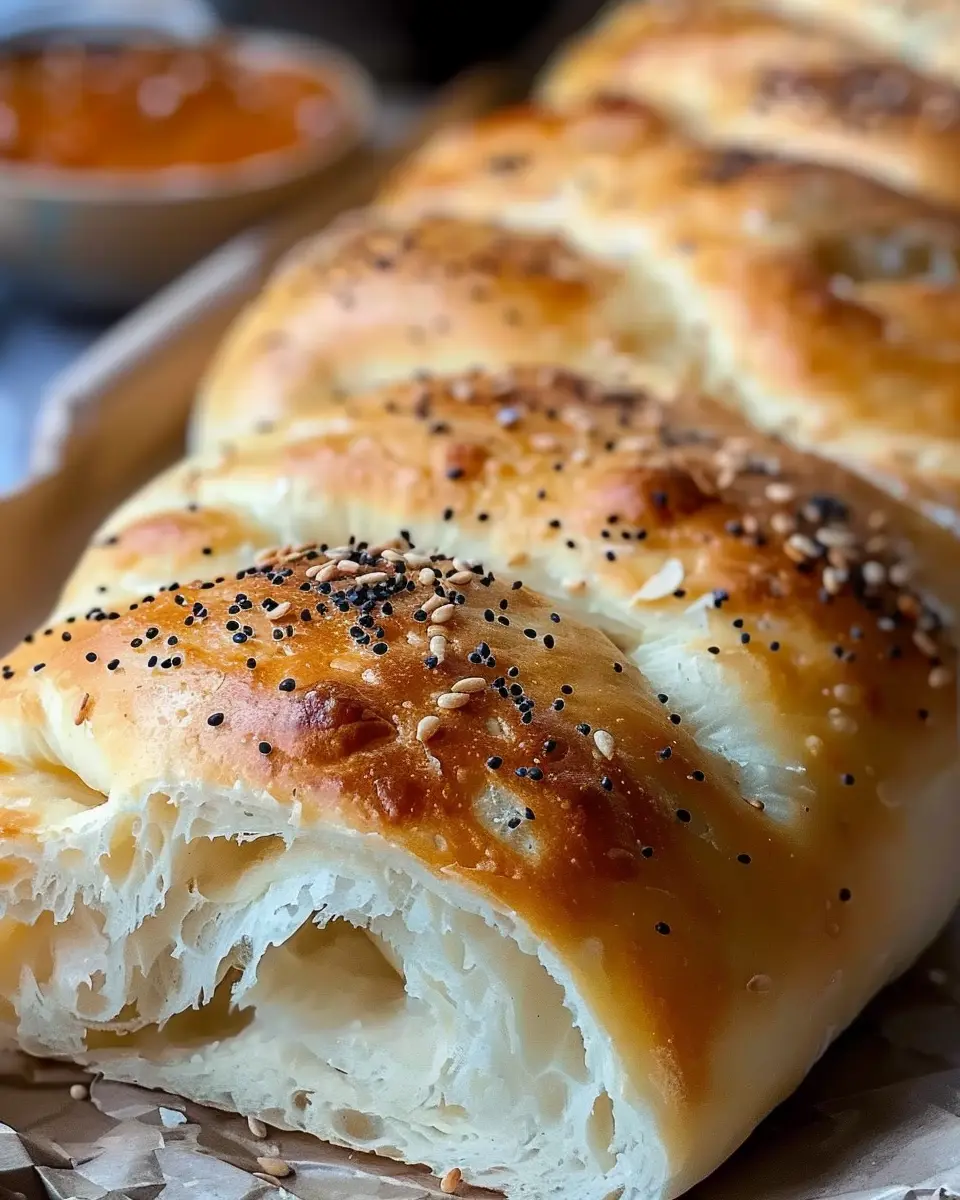
Add finishing touches with toppings
Once cooked, remove the flatbread from the skillet and place it on a cooling rack or plate. You can brush them with melted butter or olive oil for added flavor. For a treat, sprinkle on some sesame seeds or chopped herbs, which will give your no-oven Turkish bread an enticing aroma. Serve warm with your favorite dips or wraps with turkey bacon, chicken ham, or roasted vegetables!
This recipe is straightforward, and soon you’ll be enjoying homemade flatbreads that are perfect for any meal. Happy cooking! For more tips and variations, check out this amazing resource on Turkish cuisine or explore different toppings that can elevate your dishes!
Variations of No-Oven Turkish Bread
When it comes to no-oven Turkish bread, the beauty lies in its versatility. This beloved flatbread can easily adapt to various flavors, making it a fantastic base for many culinary creations. Let’s dive into some delightful variations.
Garlic and Herb Variations
If you’re a fan of aromatic flavors, try infusing your no-oven Turkish bread with garlic and herbs. Simply mix minced garlic and your choice of herbs—like rosemary, thyme, or parsley—into the dough before cooking. Brush the bread with a mixture of olive oil and garlic for that extra punch. This version pairs wonderfully with hummus or as a side to your favorite soup.
If you’re curious about the role of herbs in cooking, check out this herb guide for more ideas.
Spicy Turkish Bread Options
For those who crave a kick, consider adding spices like crushed red pepper flakes or cayenne to your dough. You can also toss in some chopped jalapeños or a sprinkle of paprika for an exciting twist. This spicy no-oven Turkish bread works great as the base for a savory sandwich piled high with turkey bacon and fresh veggies.
Sweet Versions for Dessert
Dessert lovers, rejoice! Transform your no-oven Turkish bread into a sweet treat by incorporating ingredients like cinnamon, sugar, and dried fruits. Drizzle the finished bread with honey or maple syrup for added sweetness. Serve it warm with a side of vanilla yogurt or fresh fruit for a delightful dessert experience.
By experimenting with these variations, you can enjoy a delicious and customized take on no-oven Turkish bread that fits any occasion!
Cooking Tips and Notes for No-Oven Turkish Bread
Tips for the Best Texture
To achieve the ideal texture for your no-oven Turkish bread, consider these handy tips:
- Knead Thoroughly: Spend at least 10 minutes kneading your dough. This develops the gluten, giving your bread that lovely chewy texture.
- Resting Time: Allow the dough to rest for at least 30 minutes after kneading. This relaxation helps the bread rise better and enhances its flavor.
- Surface Heat: Cooking on a well-preheated skillet ensures even cooking. A nonstick pan can help prevent sticking and improve the crust.
Storage and Reheating Recommendations
To keep your no-oven Turkish bread fresh:
- Storage: Place the bread in an airtight container at room temperature for up to three days. For longer storage, wrap tightly in plastic wrap and refrigerate.
- Reheating: Warm up slices in a skillet over medium heat for about a minute on each side. This can revive its softness and make it taste freshly baked.
For more insights on storing baked goods, check out The Spruce Eats. Happy baking!
Serving Suggestions for No-Oven Turkish Bread
When it comes to enjoying no-oven Turkish bread, the possibilities are endless! Whether you’re entertaining friends or enjoying a cozy meal at home, this bread offers a delicious canvas for various flavors.
Perfect pairings with dips and spreads
This soft, fluffy bread is fantastic with a range of dips. Try pairing it with:
- Hummus: The creaminess complements the bread beautifully.
- Tzatziki: Cool and refreshing, it’s a match made in heaven.
- Baba ghanoush: Its smoky flavor brings an exciting twist.
Don’t hesitate to add a drizzle of olive oil or balsamic vinegar for some zest. Looking for more inspiration? Check out this article on classic Mediterranean dips to elevate your bread experience.
Ideas for incorporating into meals
Incorporating no-oven Turkish bread into your meals can elevate your dining experience. Use it as:
- A base for sandwiches: Layer it with turkey bacon or chicken ham for a tasty lunch option.
- A side for soups and salads: It’s perfect for soaking up delicious broths or dressing.
- A pizza crust: Top with your favorite ingredients and bake on a stovetop for a quick twist!
With such versatility, no-oven Turkish bread can easily become a staple in your kitchen. How do you like to enjoy your homemade bread? Share your favorite ideas!
Time Breakdown for No-Oven Turkish Bread
When it comes to creating delicious no-oven Turkish bread, knowing how to manage your time can make the experience much smoother. Let’s break it down!
Preparation Time
With just 15 minutes of preparation, you’ll have everything ready to mix and knead. It’s as simple as gathering ingredients, measuring them out, and getting your hands doughy!
Cooking Time
Cooking this delightful bread takes about 10-15 minutes. You’ll simply cook it on a stovetop, making it a quick option for any meal.
Total Time
In just 30 minutes, you can enjoy a fresh batch of no-oven Turkish bread. Whether paired with dips or alongside a meal, it’s a versatile addition to your culinary repertoire. Want more tips on cooking without an oven? Check out resources like The Kitchn for further inspiration!
Nutritional Facts for No-Oven Turkish Bread
Calories per serving
Each serving of no-oven Turkish bread contains approximately 150 calories. This makes it a great option for a light snack or as part of a meal. Pairing it with fresh veggies or proteins can help round out your nutritional intake while keeping it satisfying.
Key nutritional benefits
This delightful bread is not just tasty; it also packs a healthy punch. Here’s why you might want to add no-oven Turkish bread to your menu:
- Whole grains: If you use whole wheat flour, you’ll increase your fiber intake, promoting digestive health and helping you feel full longer.
- Protein-rich: Pairing it with toppings like turkey bacon or chicken ham can elevate the protein content, ideal for muscle repair and growth.
- Versatile: You can customize your bread with herbs and spices, adding vitamins and antioxidants without extra calories. Check out resources like the USDA’s FoodData Central for more insight into nutritional values (source: USDA FoodData Central).
With its balanced nutrients and delicious flavor, no-oven Turkish bread is a practical choice for busy young professionals looking to eat well while enjoying their meals.
FAQs about No-Oven Turkish Bread
Can I substitute ingredients for dietary needs?
Absolutely! One of the beauties of no-oven Turkish bread is its versatility. If you’re gluten-free, you can swap all-purpose flour for a gluten-free blend. Similarly, if you’re vegan, consider using a plant-based yogurt instead of traditional dairy yogurt. Interested in reducing carbs? A lower-carb flour might work well. Don’t hesitate to get creative! For more tips on ingredient substitutions, check out resources like Healthline.
How do I know when the bread is done cooking?
Determining when your no-oven Turkish bread is perfectly cooked is crucial for that delightful texture. You want a lovely golden-brown crust and a soft interior. A simple trick is to tap the bottom of the bread – it should sound hollow. If it doesn’t, just toss it back on the stovetop for a couple more minutes. Keep an eye on it; every stove varies!
What can I serve with No-Oven Turkish Bread?
This irresistible bread pairs brilliantly with a variety of dishes. Here are some tasty ideas:
- Dips: Serve it with a warm roasted red pepper dip or traditional hummus for a delightful snack.
- Sandwiches: Create a delicious fill-your-own option with turkey bacon, chicken ham, and fresh veggies.
- Breakfast: Top it with fresh avocado and a sprinkle of za’atar for a quick morning meal.
- Soups: Dunk it into hearty soups or stews for a comforting touch.
Explore more serving suggestions on sites like BBC Good Food. Enjoy experimenting with your no-oven Turkish bread!
Conclusion on No-Oven Turkish Bread
There’s something incredibly satisfying about crafting your own no-oven Turkish bread. The joy of creating a simple yet delightful loaf in your own kitchen is unmatched. It’s not just about the end product; it’s the entire experience — the warm aroma filling your home, the soft dough coming together under your hands, and the anticipation as it cooks on the stove.
Homemade bread connects us to a rich culinary tradition while giving us the freedom to experiment. So, gather your ingredients and start baking! For more insights, check out resources like King Arthur Baking for tips on bread-making techniques and Fine Cooking for creative serving ideas that pair beautifully with your freshly baked bread. Enjoy every chewy, flavorful bite!
PrintNo-Oven Turkish Bread: The Easiest Recipe You’ll Ever Try

This no-oven Turkish bread recipe is easy and fun to make, perfect for anyone craving fresh bread without needing an oven.
- Prep Time: 15 minutes
- Cook Time: 20 minutes
- Total Time: 35 minutes
- Yield: 6 servings
- Category: Bread
- Method: Stovetop
- Cuisine: Turkish
- Diet: Vegetarian
Ingredients
- 2 cups all-purpose flour
- 1 teaspoon salt
- 1 tablespoon sugar
- 1 tablespoon baking powder
- 1 cup water
Instructions
- In a large bowl, mix the flour, salt, sugar, and baking powder.
- Add water and stir until a dough forms.
- Knead the dough for a few minutes until smooth.
- Divide the dough into small balls.
- Flatten each ball into a round shape.
- Heat a skillet over medium heat and cook each bread for about 3-4 minutes on each side until golden.
Notes
- Serve with olive oil or your favorite dip.
- Best enjoyed fresh.
Nutrition
- Serving Size: 1 piece
- Calories: 150
- Sugar: 1g
- Sodium: 400mg
- Fat: 2g
- Saturated Fat: 0g
- Unsaturated Fat: 1g
- Trans Fat: 0g
- Carbohydrates: 30g
- Fiber: 1g
- Protein: 5g
- Cholesterol: 0mg


")